Introduction
PyCharm is an Integrated Development Environment (IDE) specifically designed for Python programming. Developed by JetBrains, PyCharm offers a comprehensive set of tools and features to assist Python developers in writing, debugging, and deploying their code more efficiently. It provides a user-friendly interface with powerful capabilities such as code completion, syntax highlighting, debugging support, version control integration, and seamless project management. PyCharm comes in two editions: Community (free) and Professional (paid), catering to the needs of both beginners and advanced developers. Overall, PyCharm is widely regarded as one of the top choices for Python development due to its robustness and productivity-enhancing features.
Are you ready to dive into the world of Python programming on your Windows 11 system? PyCharm, a powerful Integrated Development Environment (IDE) for Python, can make your coding journey smoother and more productive. In this guide, we’ll walk you through the process of installing PyCharm and connecting it to Python on your Windows 11 machine. Additionally, we’ll address some common FAQs to ensure a seamless setup experience.
Pycharm Features
PyCharm has everything you need right out of the box to write more intelligent and faster code. The JetBrains IDE for Python assists you in finishing your tasks, regardless of your level of knowledge of these languages.
- Python Code Editing
- Database & SQL
- Language Support
- Python Profiler
- Testing
- Refactoring
- Debugging
Step-by-Step Guide
Step 1: Download PyCharm
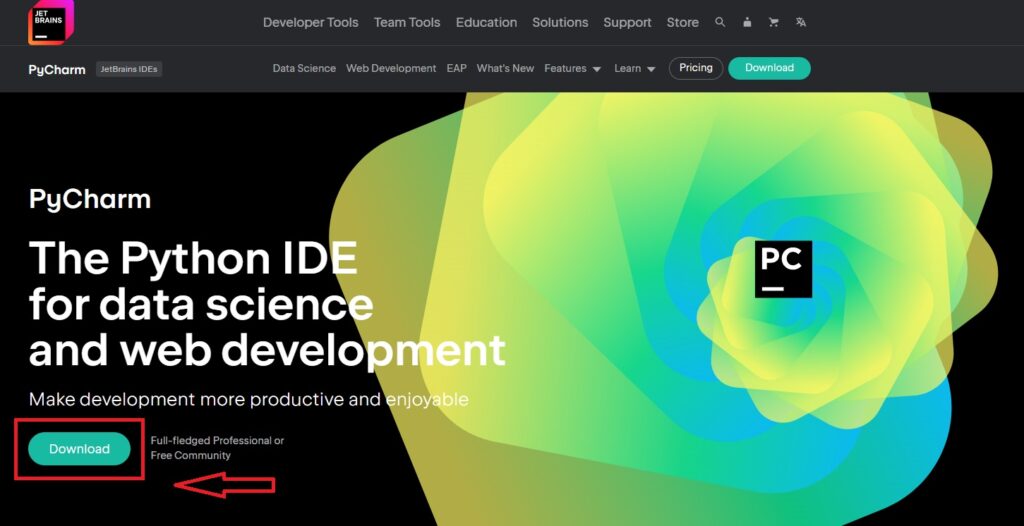
First things first, head over to the JetBrains website to download PyCharm. You can choose between the Community (free) and Professional versions based on your requirements.

Once you’ve made your selection, click on the download button and save the installer to your computer.
Step 2: Install PyCharm
Double-click the installer file that you downloaded to start the installation wizard. Follow the on-screen instructions to complete the installation process. You can choose the installation location and select any additional components you wish to include during the setup.
Step 3: Configure PyCharm
Once PyCharm is installed, launch the application. You’ll be greeted with a welcome screen where you can either create a new project or open an existing one. If this is your first time using PyCharm, select “Create New Project” and follow the prompts to set up your project environment.
Step 4: Connect to the Python Interpreter
To connect PyCharm to Python on your Windows 11 system, you’ll need to configure the Python interpreter. Go to File > Settings > Project: [Your Project Name] > Python Interpreter. This is where you select the Python interpreter to use. If Python is not listed, click on the gear icon and select “Add…” to manually specify the path to the Python executable.
Step 5: Verify the Setup
Once you’ve selected the Python interpreter, click on “OK” to save the changes. You can now start writing and running Python code in PyCharm. To verify that everything is set up correctly, create a new Python file, write a simple “Hello, World!” program, and run it to see the output.
More Useful Posts for You!
Frequently Asked Questions
Do I need to install Python separately if I’m using PyCharm?
Yes, PyCharm is an IDE that provides a user-friendly interface for writing and running Python code, but it relies on an existing Python installation on your system. You’ll need to install Python separately before configuring PyCharm.
Can I use PyCharm with multiple Python versions?
Yes, PyCharm allows you to work with multiple Python interpreters within the same project. You can configure different interpreters for different projects or even switch between interpreters within the same project.
I’m encountering errors when configuring the Python interpreter. What should I do?
If you’re facing issues during the setup process, double-check that Python is installed correctly on your system and that you’re specifying the correct path to the Python executable. You may also need to ensure that PyCharm has the necessary permissions to access the Python installation directory.
Is PyCharm available for other operating systems?
Yes, PyCharm is available for Windows, macOS, and Linux operating systems. You can download the appropriate version from the JetBrains website and follow similar installation steps.
Conclusion
PyCharm stands as a premier tool in the Python programming landscape, offering a feature-rich environment that empowers developers at all skill levels. With its intuitive interface, extensive functionality, and seamless integration with Python, PyCharm streamlines the development process and enhances productivity.
Whether you’re a novice exploring the fundamentals of Python or a seasoned developer working on complex projects, PyCharm’s versatility and efficiency make it an indispensable asset in the toolkit of any Python programmer. By providing a conducive environment for coding, debugging, and project management, PyCharm enables developers to focus on what truly matters: bringing their ideas to life through clean, efficient, and reliable Python code.


.jpg)
